I can't believe Caroline will be a month old on Friday and Matthew will be 2 on Thursday! Where has the time gone?! Here are some pictures of our life the past month...
We celebrated Brian's 31st birthday!
We took both kids to the park.
I took Matthew and Caroline to the botanical gardens at the Atlanta History Center
We went to a Kentucky Derby party
Lunch to celebrate Mother's Day
Caroline's first hair bow!
Had friends from medical school over to visit
Matthew completed his Little Gym class!
Matthew holding Caroline for the first time
Our cute little princess!
We took Matthew to Thomas the Train Live! for his birthday. He was very enthralled!
Watching Thomas
Out for a morning drove on the balcony
I'll post more pictures later this week or weekend of Matthew's 2nd birthday!
Three things will last forever - faith, hope and love - and the greatest of these is love. 1 Corinthians 13:13
Tuesday, May 24, 2011
Tuesday, May 10, 2011
Photo Card
Monogram Melody Pink Baby Announcements
Shutterfly has personalized baby birth announcement cards.
View the entire collection of cards.
Sunday, May 8, 2011
Caroline Jane Arrives!
We are very excited to announce the arrival of our daughter, Caroline! She was born at 1:11pm on April 27, 2011 weighing 7lb 14oz and measuring 20.5 inches long. Here are some photos of her arrival!
We got to the hospital at 7:30 Wednesday morning for a scheduled induction. After a bit of excitement that included a ridiculously low blood pressure and a fainting episode, I was hooked up to the pitosin around 9:30 or 10:00. I went ahead and requested my epidural shortly after labor started, and it was a much better experience than the last time! Mom and Dad brought Matthew up to the hospital for a little bit while we waited for labor to progress. Then around 12:45 I started feeling some pressure, and sure enough it was time to push! Mom and Dad went to the waiting room at the hospital instead of heading back to the apartment as we originally had planned. 20 minutes later, Caroline was born!
Monday, April 25, 2011
Happy Easter!
We had a great time celebrating Easter yesterday. Our last holiday as a family of three! Matthew was very excited to see what was in his Easter basket and has become quite an expert at egg hunting! Here are some videos from our day.
Monday, April 18, 2011
Nesting with No Nursery... Part 3
In addition to making things for our new arrival, I've also been making things for Matthew to play with. A few months ago when he started pointing out numbers everywhere, my teacher personality kicked in and I decided to make him some felt flashcards. One set with numbers and one with shapes. They came out really cute, except for the fact that Cajun's dog hair sticks to them like crazy!
Then a few weeks ago he started identifying letters, so I thought I should make something with those on them! 26 flashcards on a ring wasn't exactly an option, and then I remembered I had bought some Cars fabric a while back and had nothing to do with it. Alphabet bean bags were born! I painted uppercase letters on one side and lowercase letters on the other with fabric paint. Matthew loves them. He tries to carry as many of them in his arms as he can at one time! He transports them all from the table to the couch (handfuls at a time) and then takes them from the couch and throws them on the floor. All of this picking up got old fast, so I decided I needed a bag to keep them all in. I had a little fabric leftover and made a matching drawstring bag!
I have one last project that I want to complete before the baby comes, so hopefully I'll have time in the next few days. I'll keep you posted!
Then a few weeks ago he started identifying letters, so I thought I should make something with those on them! 26 flashcards on a ring wasn't exactly an option, and then I remembered I had bought some Cars fabric a while back and had nothing to do with it. Alphabet bean bags were born! I painted uppercase letters on one side and lowercase letters on the other with fabric paint. Matthew loves them. He tries to carry as many of them in his arms as he can at one time! He transports them all from the table to the couch (handfuls at a time) and then takes them from the couch and throws them on the floor. All of this picking up got old fast, so I decided I needed a bag to keep them all in. I had a little fabric leftover and made a matching drawstring bag!
I have one last project that I want to complete before the baby comes, so hopefully I'll have time in the next few days. I'll keep you posted!
Sunday, April 17, 2011
Construction on Our New House!
Brian and I are very excited to be building a house in Bradenton! After spending a week looking at resales and not really finding anything we liked, we decided to go with new construction after falling in love with one of the builders in the area, and discovering it was actually less expensive to build! We told the builder that we would be moving at the end of June, and they assured us that the house would be done on time. We are/were very skeptical about this, but were willing to take the risk. They broke ground on our house on April 4th, and just 13 days later they are almost about to put the roof on! Maybe it will be done in time after all...
Here are some pictures of the progress:
April 4, 2011
April 17, 2011
Here are some pictures of the progress:
April 4, 2011
April 17, 2011
Tuesday, April 5, 2011
Nesting with No Nursery... Part 2
This is something that I've been wanting to make since I saw it on a crafting blog (How Does She) about 6 months ago. I told myself that I would do it before Matthew's 2nd birthday, so that I could start measuring his height every year. Well, that deadline was fast approaching so I thought I'd better get to it! And while I was at it, I made one for the baby too even though I probably won't be measuring her height for quite some time. I took pictures as I went so if any of you crafty people out there want to try it you can! I made both of mine while Matthew took his nap this afternoon, so in about 2 hours. One of the things I like about it is that you can take it with you, so when we move again in the future we won't leave behind the measured marks on a door frame or wall never to be seen again.
Supplies you'll need:
- 3" wide x 1"deep MDF board cut in half. The boards come in 10 or 12 foot lengths, so I just had the guy at Home Depot cut in half for me, and then I had two! Perfect for making two charts :o)
- Wooden topper
- Acrylic paint
- Tape measure
- Ruler or straight edge
- Pencil
- Permanent marker
- Numbers 1-6 in vinyl
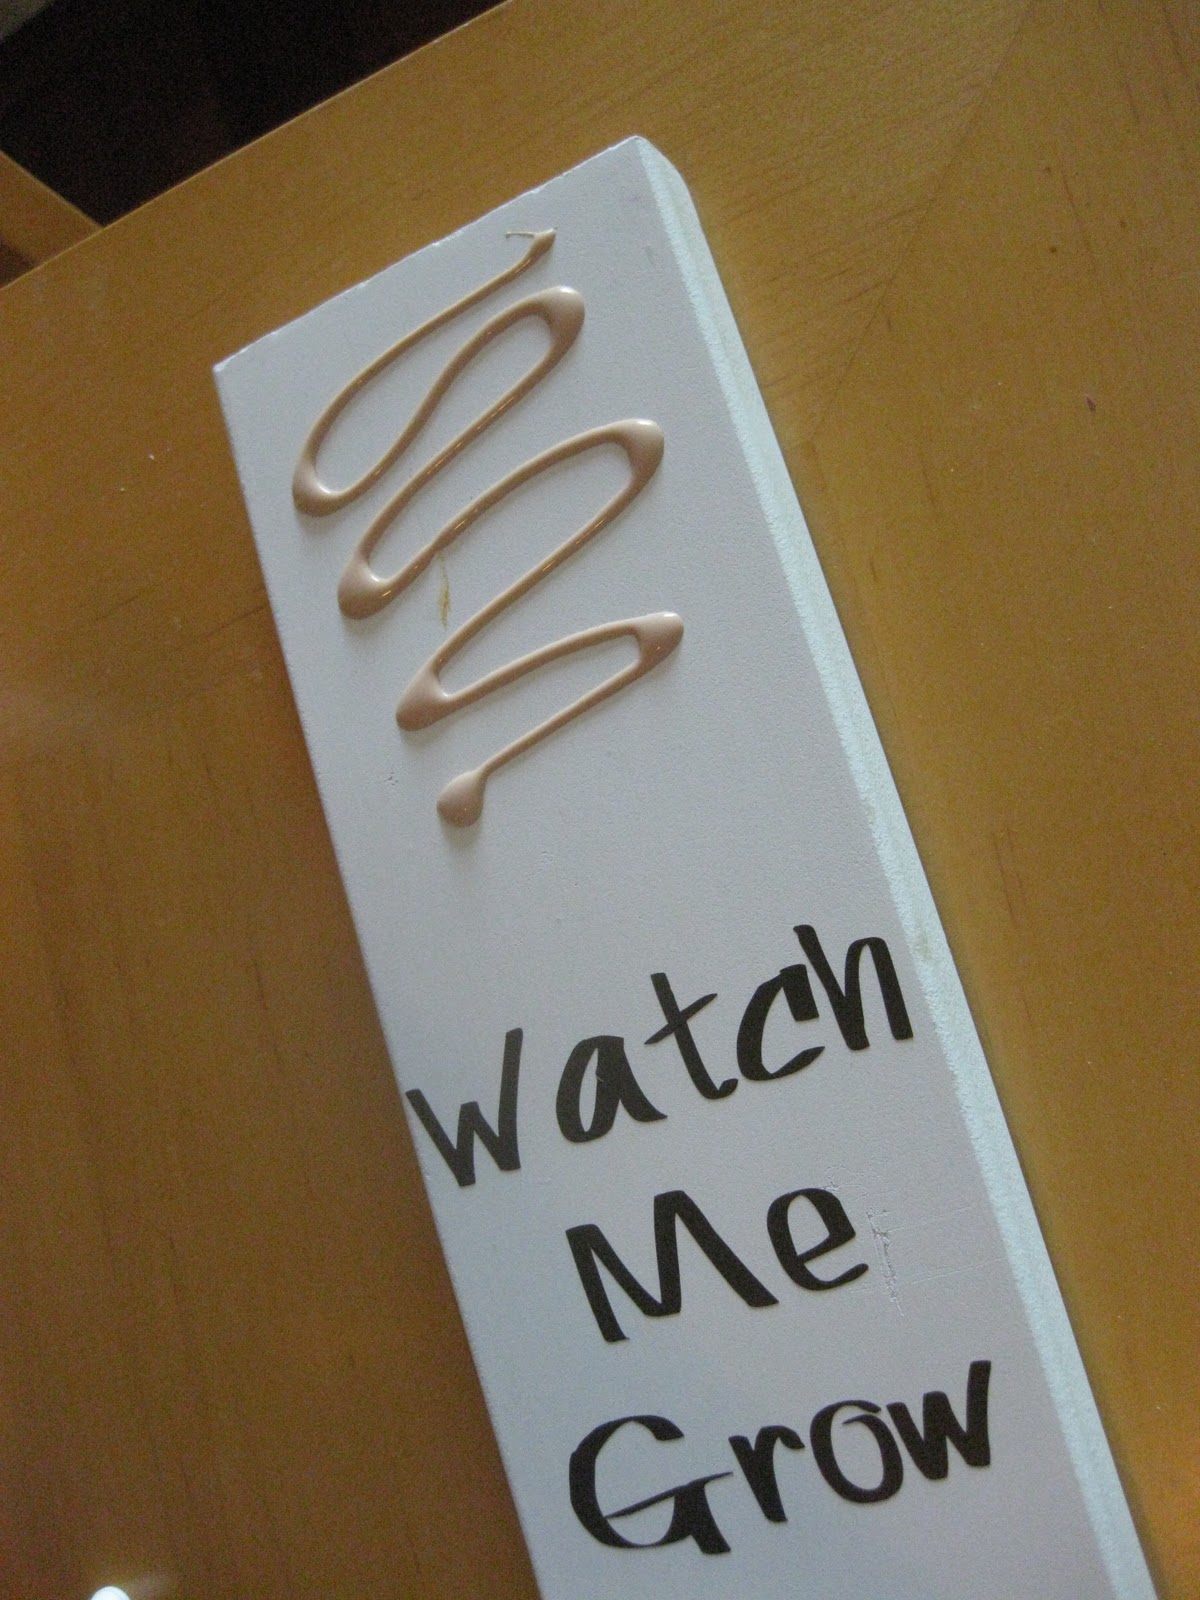
- "Watch Me Grow" phrase in vinyl
The next step is to mark the measurements on the MDF board. Now keep in mind that the growth chart will not start from the ground up - it will be about 10 inches off the floor. This is so if you have baseboards it will still be able to hang flat, and it also allows you to get more height on the chart. I did my measurements by placing the topper where I thought I'd like it, leaving space for the "Watch Me Grow" phrase, and then starting with my highest measurement. My charts go up to 6' 2", but you can make yours go taller or shorter depending on the height in your family. I am slightly anal and didn't want to mess up, so I used a pencil to make all of my marks first. I used the tape measure and just marked inch increments. At this point I didn't worry about where the numbers would go, I just marked all the way down the board.
Once I had marked all the way down, I went back with a black permanent marker and a straight edge. I made the lines that showed a foot longer than the other inch marks. I also counted as I went to make sure that my measurements were going to be accurate!
I have a Silhouette machine, so I used it to cut out the numbers and words from vinyl. I made the numbers about 2 inches high, and the entire "Watch Me Grow" phrase was 3 inches wide and 4 inches tall. If you don't have a Silhouette machine you can hand write everything, or you can visit my crafting site www.cupcakesandjellybeans.com and order just the vinyl to put on your growth chart. Place the numbers directly next to the longer lines and the phrase at the top! The font I used for the train chart is called "A Little Pot" and the font for the butterfly chart is "Rolina".
The last step is to glue on your topper! I did this last in case I ended up needing to move it up or down to make more room for the numbers or phrase. Use wood glue and just stick it on!
The last step is to put a picture hanger on the back! You can buy one at Home Depot, or if you're like me you have random things around your house and already own one. Just hammer it into the back once your wood glue is dry, and you're all done. Now all you have to do is hang it on the wall! But don't forget to measure from the ground to the 1 foot mark to make sure your measurements are accurate when you hang it!
Subscribe to:
Posts (Atom)