
This is something that I've been wanting to make since I saw it on a crafting blog (How Does She) about 6 months ago. I told myself that I would do it before Matthew's 2nd birthday, so that I could start measuring his height every year. Well, that deadline was fast approaching so I thought I'd better get to it! And while I was at it, I made one for the baby too even though I probably won't be measuring her height for quite some time. I took pictures as I went so if any of you crafty people out there want to try it you can! I made both of mine while Matthew took his nap this afternoon, so in about 2 hours. One of the things I like about it is that you can take it with you, so when we move again in the future we won't leave behind the measured marks on a door frame or wall never to be seen again.
Supplies you'll need:
- 3" wide x 1"deep MDF board cut in half. The boards come in 10 or 12 foot lengths, so I just had the guy at Home Depot cut in half for me, and then I had two! Perfect for making two charts :o)
- Wooden topper
- Acrylic paint
- Tape measure
- Ruler or straight edge
- Pencil
- Permanent marker
- Numbers 1-6 in vinyl
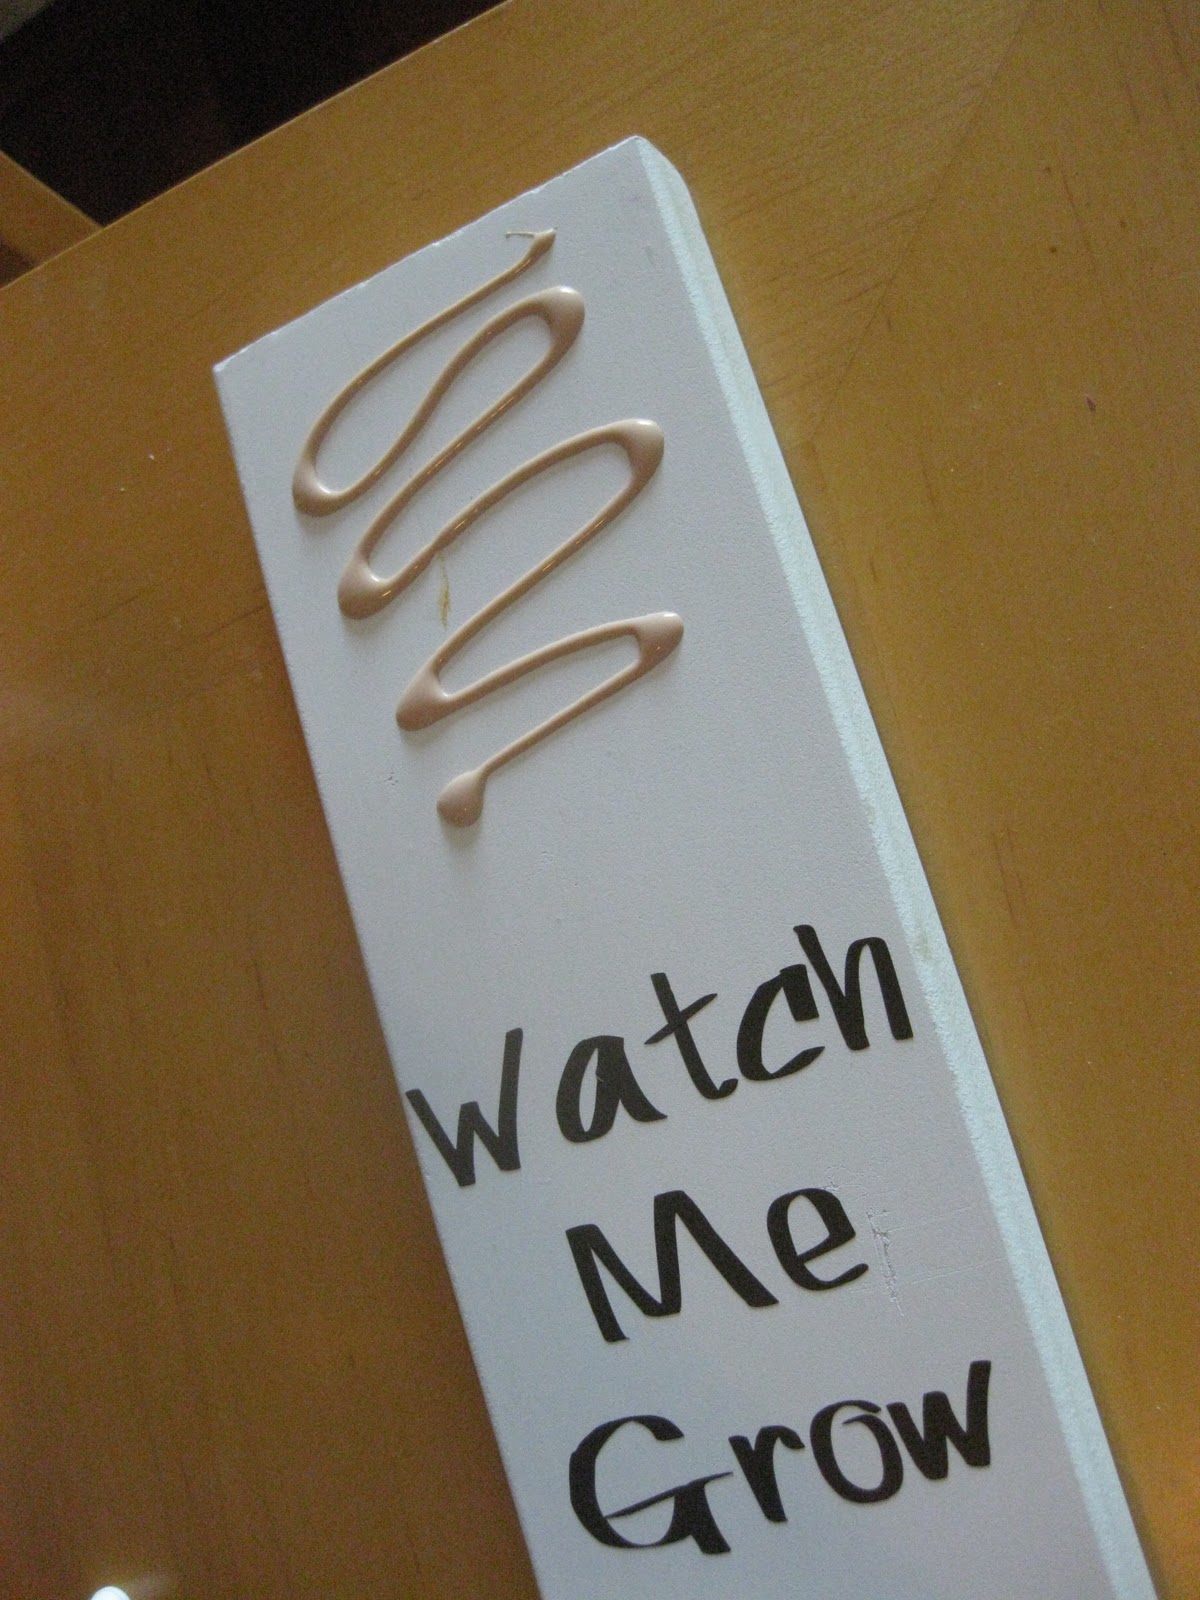
- "Watch Me Grow" phrase in vinyl


The next step is to mark the measurements on the MDF board. Now keep in mind that the growth chart will not start from the ground up - it will be about 10 inches off the floor. This is so if you have baseboards it will still be able to hang flat, and it also allows you to get more height on the chart. I did my measurements by placing the topper where I thought I'd like it, leaving space for the "Watch Me Grow" phrase, and then starting with my highest measurement. My charts go up to 6' 2", but you can make yours go taller or shorter depending on the height in your family. I am slightly anal and didn't want to mess up, so I used a pencil to make all of my marks first. I used the tape measure and just marked inch increments. At this point I didn't worry about where the numbers would go, I just marked all the way down the board.


I have a Silhouette machine, so I used it to cut out the numbers and words from vinyl. I made the numbers about 2 inches high, and the entire "Watch Me Grow" phrase was 3 inches wide and 4 inches tall. If you don't have a Silhouette machine you can hand write everything, or you can visit my crafting site www.cupcakesandjellybeans.com and order just the vinyl to put on your growth chart. Place the numbers directly next to the longer lines and the phrase at the top! The font I used for the train chart is called "A Little Pot" and the font for the butterfly chart is "Rolina".

The last step is to glue on your topper! I did this last in case I ended up needing to move it up or down to make more room for the numbers or phrase. Use wood glue and just stick it on!
The last step is to put a picture hanger on the back! You can buy one at Home Depot, or if you're like me you have random things around your house and already own one. Just hammer it into the back once your wood glue is dry, and you're all done. Now all you have to do is hang it on the wall! But don't forget to measure from the ground to the 1 foot mark to make sure your measurements are accurate when you hang it!


No comments:
Post a Comment